We LOVE coconut in all forms. Its fantastic shredded, fresh and even as coconut oil. But let's face it, coconut anything isn't cheap, especially if its coconut butter. I mean $4 for a small package of coconut butter is pretty outrageous. No offense coconut manufacturers, honest. I know coconuts only grow in tropical places and there aren't a heck of a lot of those in the mainland US. So I understand that some of that cost comes from shipping and the rest is due to demand.
But still $4 for half a pound of coconut butter is pretty obscene. I mean I buy butter when its $2 or less for an entire pound. Last time I bought it was around easter time and it was less than $1 a pound with a coupon, I even think I posted about it because the price was so good. Unlike most people I also have the space to store crazy amounts of butter in my upright freezer. Since I'm allergic to soy protein and soy flour, we also tend to avoid margarine like the plague. While it doesn't carry any of those specific ingredients, artificial, processed foods sometimes make me feel kinda sluggish after eating them.
Enough of my butter rant. Enter my fascination that you can make your own coconut butter. I've held off making it for quite a while now for a couple of reasons. First, curse Whole Foods who always seems to be out of Sambazon and unsweetened coconut. Odd, right? Second, could it really be that easy and taste as great if I made it myself?
I can now tell you that it is! All you need is a food processor or a high powered blender and some unsweetened coconut. That's literally all you need. Just process the coconut until it reaches the creamy consistency you want, it'll take about 5-7 minutes depending on how much coconut you have.
I started with about a cup and half of shredded coconut, which cost $1.30, and I ended up with about 5 ounces of coconut butter. To me, that's a great deal! If you store it in the fridge it keeps indefinitely and if you store it at room temp it will keep for about 3 months.
So do y'all know what we'll be having from now on? That's right, homemade coconut butter! I dare you to pick up some unsweetened coconut and try it out. :)
Recently Tropical Traditions offered to let me try out some of their Gold Label Virgin Coconut Oil. I'd never used it before but had heard that its incredibly good for you. Dr. Oz says so too. :)
Here's a video about Tropical Traditions Gold Label Virgin Coconut Oil.
I've tried a few things with coconut oil and not all were a baking success. As you've read, I tried making an entirely coconut oil pie crust and a lemon blueberry bread (both were fails). I do quite like to use it when making anything with meat and also throwing some in with the rice when I make it in the microwave. To me it doesn't add a coconut taste to anything I've made. Which makes it perfect! How to Use Coconut Oil: There are hundreds of uses!
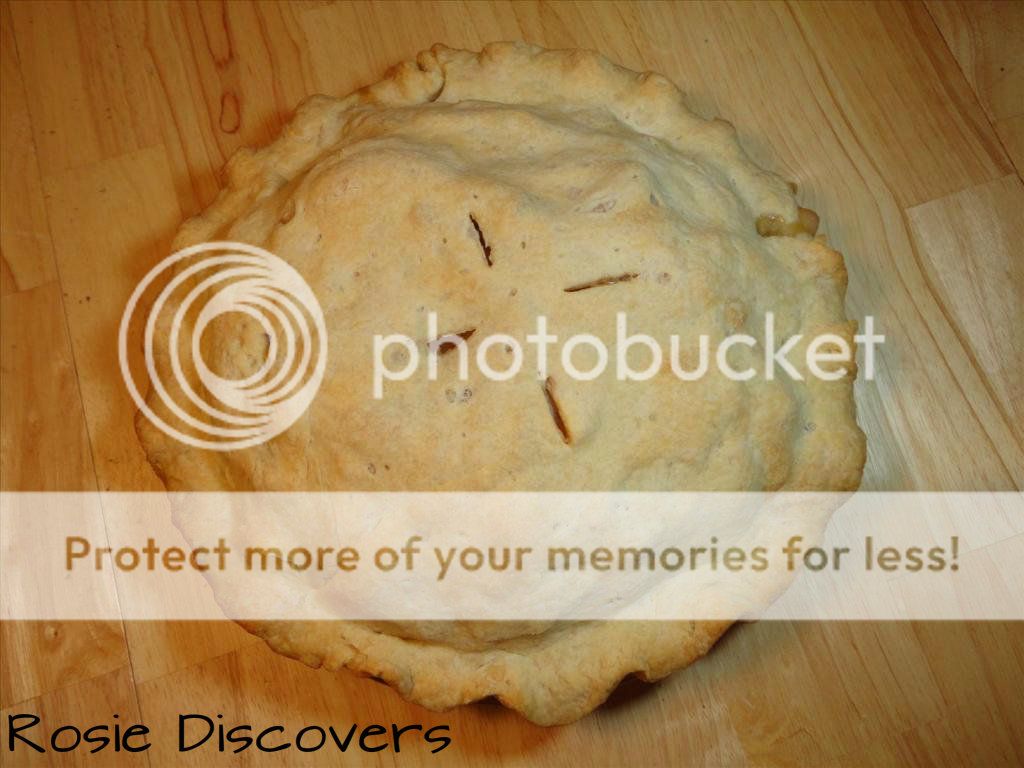
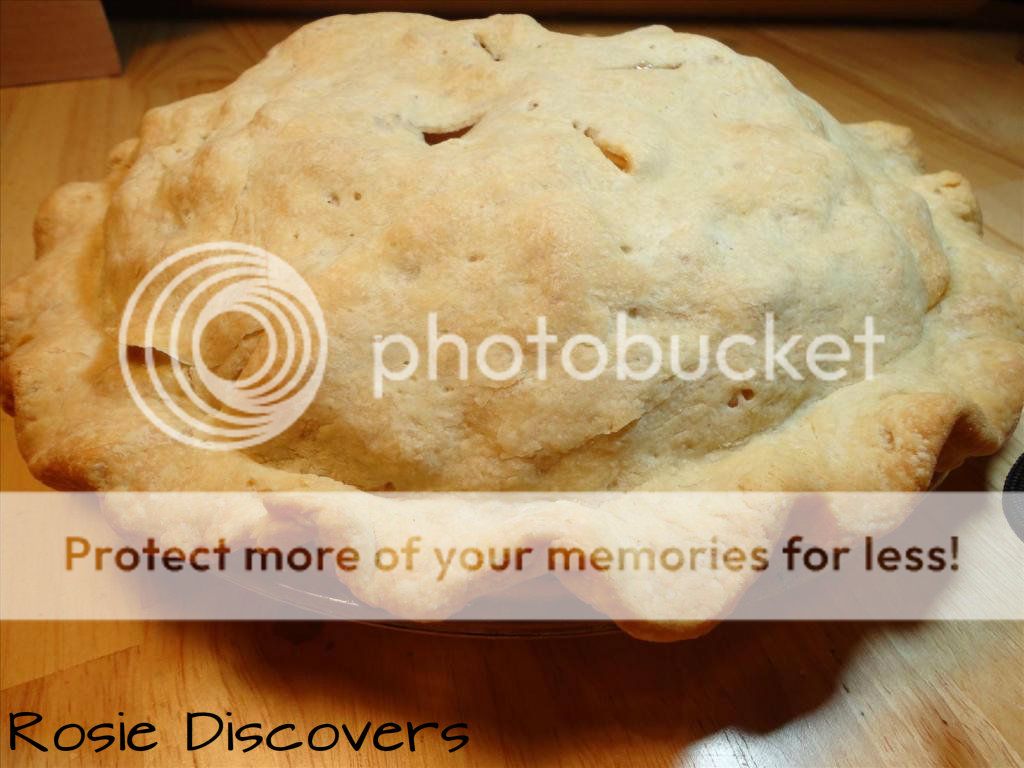
I did email Tropical Traditions because I was having issues using the Coconut Oil to bake with and they recommended using half coconut oil and half butter. Upon learning this, I knew exactly what to bake...my favorite apple pie. So here's the recipe and the pics:
Coconut Oil Double Pie Crust Recipe
2 cups all purpose flour
1/3 cup coconut oil
1/3 cup unsalted butter, cubed and chilled
1/2 teaspoon salt
5-7 tablespoons ice water
You can make the crust in two different ways, you can use the food processor or you can use a pastry cutter. I prefer using a pastry cutter because I've always used one. If pressed for time, I'd break down and use the food processor.
(Pastry Cutter) 1. In a large bowl, combine flour and salt. Then add coconut oil and butter, work them into the flour using the pastry cutter until mixture resembles coarse meal.
2. Add 5 tablespoons ice water and work into flour mixture. Continue to add water till dough comes together but don't add enough to become sticky.
3. Separate dough into 2 even pieces. Using hands work one piece into a thick round. Roll out with rolling pin, large enough to fit a 9-inch pie pan. Do the same with second piece of dough.
(Food Processor) 1. In food processor bowl, combine all ingredients except water. Pulse several times till mixture resembles coarse meal. 2. Add 5 tablespoons ice water and pulse till dough comes together. Adding more water as needed. 3. Separate dough into 2 even pieces. Using hands work one piece into a
thick round. Roll out with rolling pin, large enough to fit a 9-inch
pie pan. Do the same with second piece of dough.
Blue Ribbon Apple Pie (adapted from The American's Test Kitchen Family Baking Book)
5 lbs your favorite type of apple (I prefer tart: rome, mcintosh, granny smith, jonathon) peeled, cored, and sliced 1/4" thick
1/2 cup granulated sugar
1/4 cup packed light brown sugar
1/2 teaspoon grated fresh lemon zest (if I have it I use it, if I don't it still comes out great)
dash of salt
1/2 teaspoon ground cinnamon
1/4 teaspoon freshly grated nutmeg
2 teaspoons fresh lemon juice (I use bottled if I don't have a lemon)
1. Toss the apples, sugars, zest, salt, cinnamon and nutmeg together in a large bowl. Transfer to a large Dutch oven or a large cooking pot, cover and cook over medium heat, stirring frequently, until apples are fork tender but still hold their shape, 10-20 minutes. Transfer apples and their juice to a rimmed baking sheet and let cool to room temperature, about 30 minutes.
2. Adjust oven rack to lowest position, place foil-lined rimmed baking sheet on the rack, and heat the oven to 425 degrees. Drain the cooled apples thoroughly through a colander, reserving 1/4 cup of the juice. Stir the lemon juice into the reserved 1/4 cup of apple juice.
3. Spread the apples into the dough-lined pie plate, mounding them slightly in the middle, and drizzle with the lemon juice mixture. Loosely roll the second piece of dough around the rolling pin and gently unroll it over the pie. Trim, fold, and crimp the edges, and cut 4 vent holes in the top.
4. Place the pie on the heated baking sheet and bake until the crust is golden, about 25 minutes. Reduce heat to 375 degrees, rotate baking sheet, and continue to bake until the juices are bubbling and the crust is deep golden brown, 25-30 minutes longer. Let the pie cool on a wire rack until the filling has set, about 2 hours; serve slightly warm or at room temperature.
My recipe differs in that I use apples that I like instead of a mix of tart and sweet. I've also increased and added spices. This tastes more like a classic apple pie to me. And yeah, it is important to cook the apples before hand. If you don't, they'll shrink and you'll be left with a lot of empty space at the top and your crust will collapse when you cut it.
On to the giveaway, Tropical Traditions has graciously offered to send a quart of Coconut Oil to one lucky reader. You can enter below using the rafflecopter entry form. Contest will run from May 4th - May 15th. Open to residents of the US and Canada. Also you if you're a new customer and place an order with this link you can get a free coconut oil cookbook. Tropical Traditions Weekly Sales
I can honestly say I’ve never had a pear pie before. Actually never anything baked with pears in
it. I’ve always eaten them plain. So when I saw this recipe in the Farmstead Chef I knew I had to try it. This pie is
reminiscent of a Dutch apple pie with a different taste to it. To me it does taste like pears, more so on
the second day but everyone else said they couldn’t tell a difference between
it and an apple pie.
One more thing, you shouldn’t make pie crust with coconut
oil. (The pie crust recipe listed is one
I’ve always used and it turns out great.
If you want it flakier, replace half of the cold water with ice cold
vodka. While vodka won’t flavor the
crust it does completely evaporate while baking, thus ensuring a very flaky
crust.) It doesn’t turn out like you’d
expect. The dough was really elastic
rolling it out and while not exactly tough when baked it definitely didn’t have
a regular pie crust texture. I’ve been trying
to find a great recipe to use with coconut oil as we’ll be having a giveaway soon.
Pear Crumb
Pie
1 9-inch unbaked pie shell
½ cup brown sugar, packed
2 tablespoons cornstarch
½ teaspoon cinnamon
¼ teaspoon ginger
½ teaspoon salt
¼ teaspoon nutmeg
6 cups pears peeled and thinly sliced (about 6 large pears, 3
lb.)
1 tablespoon lemon juice
2/3 cup flour
1/3 cup brown sugar, packed
1/3 cup unsalted butter
To make pie crust: 1 cup flour, ½ teaspoon salt and 1/3 cup
shortening or unsalted butter. Mix flour
and salt in medium bowl, then using pastry cutter work in shortening until mixture
resembles coarse meal. Then add 3-4
tablespoons ice water, making sure to use just enough to bring dough
together. Don’t over wet dough. Roll out to fit pie pan. Crimp edges.
To make pie: Combine
all but last three ingredients; spoon into pie crust. Bake at 400 degrees for 25 minutes.
For topping: Combine
flour and brown sugar. Cut in butter
till crumbly. Sprinkle over
filling. Bake 40 minutes longer. Cover edges of crust with foil for the last
15 minutes if browning too quickly.
Don't be alarmed when you take it out of the oven to put the crumb topping on because they pie will look incredibly juicy.
My pie didn't brown enough for me to cover the edges while baking. But make sure to keep an eye on yours just in case. The pie kept extremely well and I'll probably be baking it again with a regular pie crust.